Have you ever wanted to make your own puppet, but do not know where to start? The creative process of puppet making is a fun and exciting process that allows for imagination, innovation and freedom of expression. It can also be a daunting process that comes with unexpected challenges. In this article we will review the basic steps in puppet creation. Throughout the process, you will create the puppet’s personality or story, plan a design, build mechanisms, make patterns, construct the puppet, and act in a show.
Every puppet begins with a concept. Start with the puppet’s personality and background then base their design on that. Determine what kind of personality the puppet will have, their style, expressions and how they move. Create a sketch of your design and consider the puppet’s proportions, facial features, clothing and accessories. When designing, think about what the puppet will be used for. Is it for storytelling, entertainment, education or something else? You will also want to keep in mind what type of materials you want to use as well as the type of movement and mechanics that your puppet will have. It may be useful to include scale drawings, measurements, specific materials choices and movement in your final design.
For inspiration when your creating your puppet, check out this article about Jim Henson’s never before seen sketches when creating the Muppets, from the atlantic. Muppets Creator Jim Henson’s Never-Before-Seen Sketches – The Atlantic
Depending on the type of movement you want your puppet to have, you will need to consider which mechanism will work best for your puppet.
A mouth plate in puppets will allow you to mimic a moving mouth and allow the puppet to look like it is speaking. This mechanism is similar to how sock puppets are used.
Strings can be useful for puppets like marionettes. The strings connect to the limbs of the puppet and connect to a control bar or handles for the puppeteer to control. By pulling and releasing the strings with precise timing and coordination, puppeteers can make the puppet perform intricate movements such as walking, dancing, or gesturing.
Rod mechanisms are used to control specific parts of the puppet such as the arms or head. These mechanisms consist of rods or levers connected to the puppet’s movable components. By manipulating the rods, puppeteers can create realistic movements and gestures. This technique can be used to achieve a wide range of movements and interactions.
Instead of having fluid, moveable parts, puppets can have posable limbs that will stay in place using wire.
Using ball and socket joints or hinges, the limbs can move freely and fluidly.

Once the design and movement have been planned, you can now consider the types of materials you want to use as well as any tools you may need.
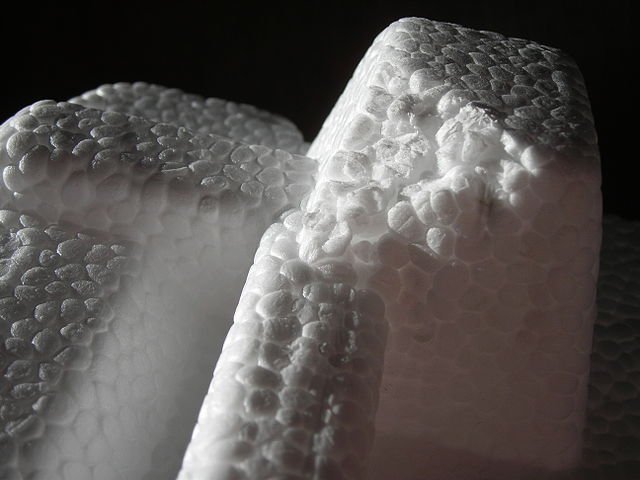
Common materials for crafting the base of puppets are XPS Foam, EVA Foam and Upholstery Foam. If you are making puppets on a budget, you can also use recycled materials like cardboard. Some puppets with mechanized parts or ventriloquist dummies may also use 3D-printed parts. You may also want to look into using wood, paper mache, or sculpting your own puppet with clay. If you want a realistic-looking puppet, you can use latex or silicone.
Useful materials for the aesthetics of the puppet include felt or fabric for the clothes. Ping Pong balls, spoons, googly eyes or plastic doll eyes for the puppet eyes. Felt, clay or 3d printed parts for the facial features. Yarn, pipe cleaners, or fur for the hair. You can also use buttons, sequins or beads for accessories.
The following is a list of tools that will be useful in the construction of the puppet:
Scissors, knives, needles and thread, sewing machine, paint and paint brushes, markers and pens, pliers, wire cutters, ruler or tape measure, sandpaper, heat gun, paper or pattern tracing materials, hole punch or small drill, brushes or comb and safety gear such as glasses, masks or gloves.
Adhesives: Hot glue, wood glue, water-based contact cement, fabric glue

The first part of the puppet construction process will be to build the base of the puppet. If you go with wood, XPS foam or clay, you will begin by sculpting or carving the puppet. If you went with EVA foam, upholstery foam or cardboard cut the pieces out according to your design. At this point, you will also construct your detail pieces like eyes, nose and mouth. For example, if you are creating a nose, you could carve it out of XPS foam, upholstery foam, felt or 3D print.
The second part of the puppet construction process will be drafting patterns. To create the base of the puppet and clothes, you can create your own or modify existing patterns. A useful website for pre-made patterns is Free Patterns – Puppet Nerd
Once you have constructed your carved or sculpted puppet, you can begin to take measurements for the felt or fabric to cover the puppet. To create the patterns from scratch for clothes, you can also trace the body of the puppet. An easy method to make accurate patterns is to use plastic wrap and tape. This tutorial gives you a step-by-step https://www.instructables.com/Cast-or-Pattern-Anything-with-Duct-tape/
When cutting the fabric, be sure to add seam allowance if you are sewing with a sewing machine. If you are sewing by hand, the Henson stitch, also known as the puppet stitch or ladder stitch works best. This blog demonstrates various useful stitches The Most Useful Hand Stitches for Puppet Building | Project Puppet
The clothes and accessories of the puppet can be permanently glued on, sewn in place, or use velcro or snaps to make them removable. When covering the joints with fabrics or foam, ensure the movement will not be compromised.
Lastly, you can glue or sew on the details. Any facial features or decorative components.
Add any last-minute details and practice using the puppet. Ensure you know how the mechanisms work and rehearse all movements. When you bring the puppet to the show or event, you may want to bring a kit for repairs just incase. Include glue, tape, scissors or knives needle and thread and anything else you may need.
The Art of Puppet Making: From Design to Construction – Puppet Building World
How to Build a Quality Puppet : 11 Steps – Instructables
Puppet Patterns & Custom Puppets | ProjectPuppet
3D Printing and Puppetry – Puppet Nerd
Arm Rods and Posable Hands for Puppets | Project Puppet
Writing Credits: Taylor Blais @seam.stress on Instagram